Over the weekend I decided to sneak in a craft during the baby's naptimes. As you may recall, I blew $100 on a Father's Day Gift for the Hubs that I probably could've just made, but I used the baby as an excuse. So I decided 'no more excuses' for craft projects and I ventured on a similar craft for what will eventually become my "Instagram Wall" in my living room (The entire wall will be filled with Instagram canvases). We'd been back and forth on how to decorate a major wall in our living room.
I needed to test the waters on this new canvas craft so I chose 5 Instagram photos and lugged my butt to Michaels (craft store) where I found 8x8 canvases on 40% sale! I also hopped onto retailmenot.com and found a 20% of entire purchase (including sale items) coupon. Score! I went to Michaels and spent $50 on all my materials. I was very happy with the final product and will be doing my best to fill the wall with more canvases in between Mateo's naps as the months go by. Stay tuned for a pic of the final wall (whenever that may be).
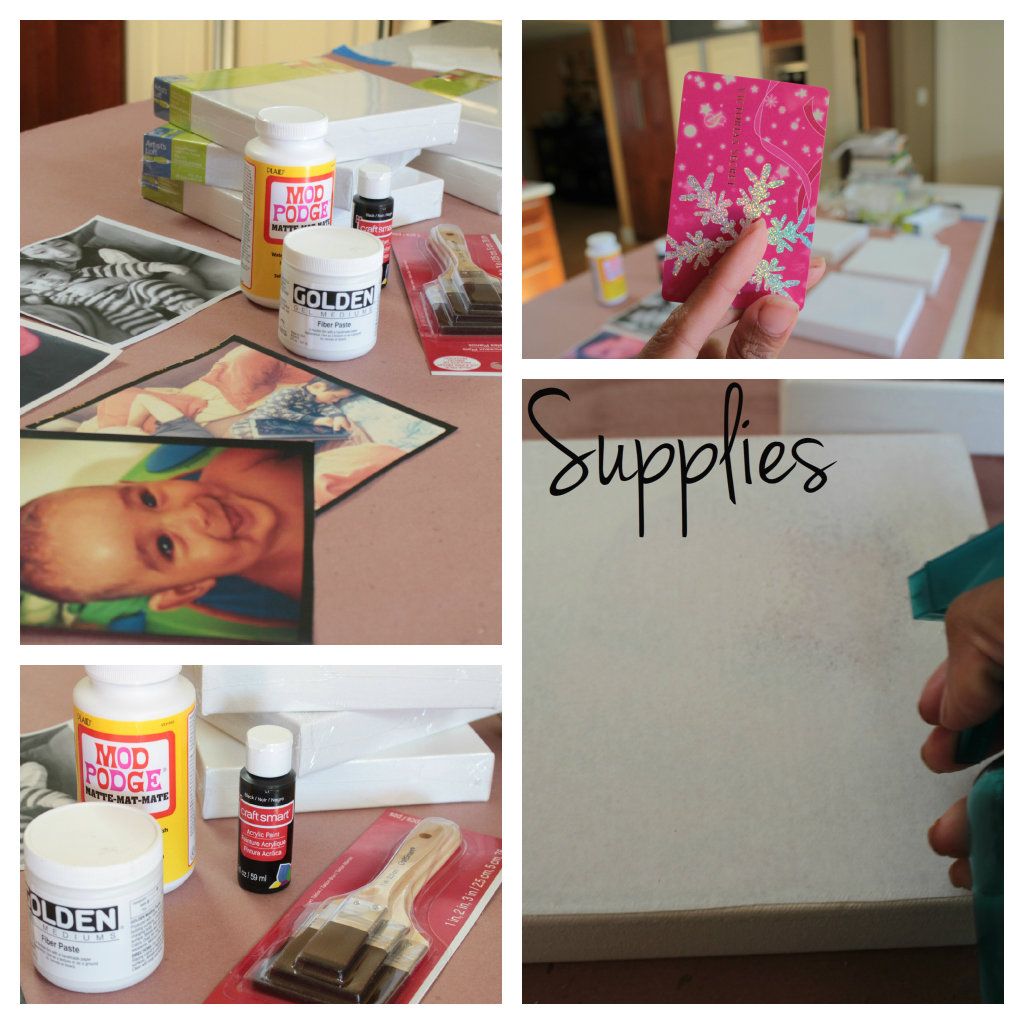 |
| You will need: Instagram photos printed on regular paper in 8x8 size (I read somewhere that you need to make sure the printer uses toner), 8x8 canvases, Modge Podge (Matte), Gel Medium, Black Acrylic Paint (optional), brushes, a spray bottle, a credit card or gift card (I used my Christmas Victoria's Secret Gift Card - no more funds, sadly) |
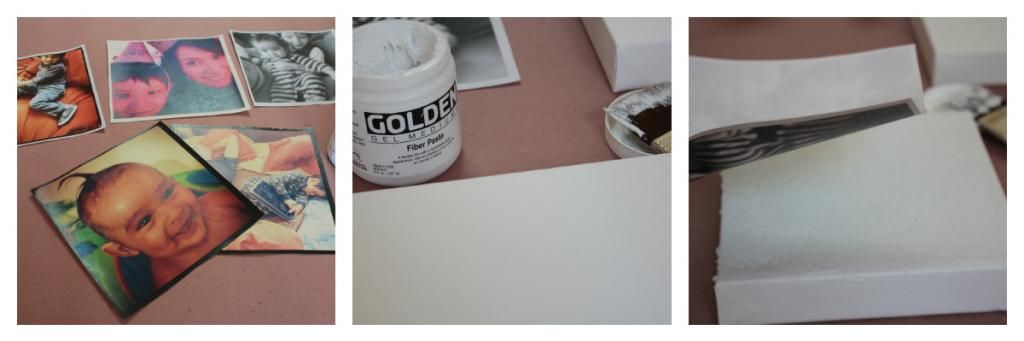 |
| 1. Cut your photos to 8x8 size, 2. Apply Gel Medium on top of canvas (don't make it too thick because then your picture can end up looking wrinkly), 3. place your Instagram picture face down on the Gel Medium. |
 |
| 4. Take your card and smooth out any bubbles or bumps, 5. Use a rag to clean off the extra Gel Medium from the sides and let dry overnight, 6. After canvas is dry, wet the paper with water. |
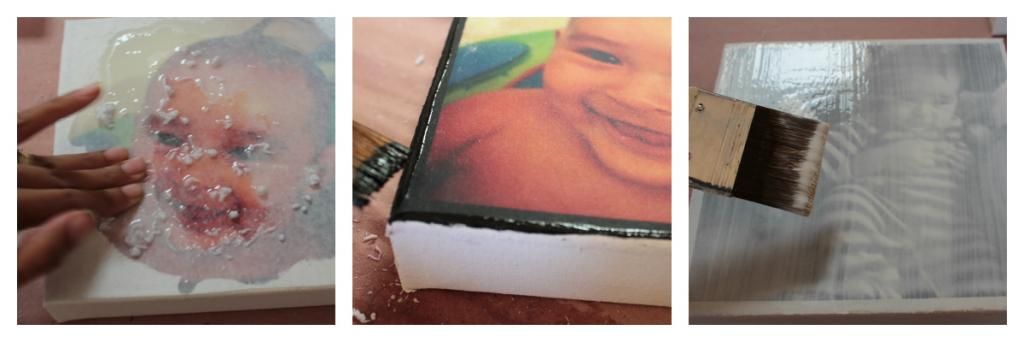 |
| 7. Use your fingers to rub off the paper fibers (you may have to do this more than once with water. If you use a rag to rub, it may be too abrasive and cause your picture to rip a little. (see the photo of Hubby and Diego sleeping below) 8. Optional: If your picture has a black border you may need to apply black acrylic to ripped sections. You may also choose to paint the entire canvas frame black. 9. After dry, apply a coat of Modge Podge (Matte) to your canvas and let dry. |
Back in the craft! - Shirley


1 comments:
Those are awesome. I've seen this kind of tutorial before and have yet to try it, but you really make me want to give it a go! :)
Post a Comment